Are you tired of trying to capture the perfect screenshot on your Windows PC only to end up with blurry images or nothing? We feel your pain, so we’re here to help! You can learn how to take screenshots on Windows in no time.

Say hello to Treeet’s ultimate guide on taking screenshots on Windows, where you’ll learn everything you need to know to master the art of capturing your screen moments. Whether you’re new to Windows or need a refresher, our step-by-step guide will help you take screenshots like a pro in no time!
So, don’t let screenshot struggles hold you back any longer. Embrace the power of Treeet’s guide and join the ranks of screenshot experts today!
How to take Screenshots on Windows – Easy Steps with shortcut keys
Screenshots are essential for anyone who uses a computer, whether for work or personal use. They allow you to capture what’s happening on your screen, save it, and share it with others. But if you’re new to Windows or haven’t taken many screenshots, you may not know how to do it. In this article, we’ll show you how to take screenshots on Windows so that you can capture and share your screen moments in no time!
If you are an Apple Product enthusiast, you can take screenshots on your MacBook. You need to read our guide on how to take a screenshot on MacBook.
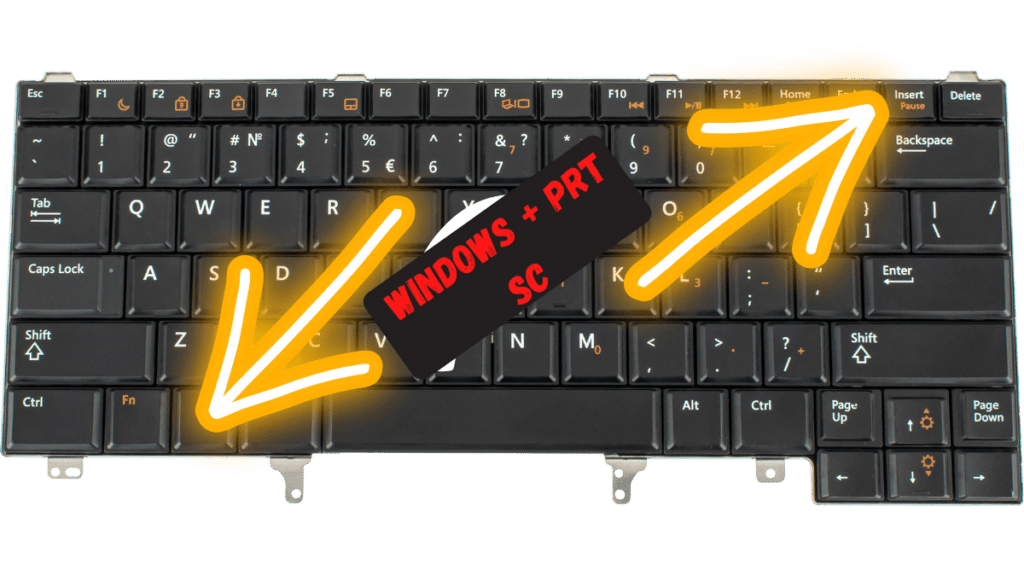
Use the Windows + Print Screen Key Combination.
If you want to take a screenshot and save it as a file, you can use the Windows + Print Screen key combination. When you press these keys, Windows will capture a screenshot of your entire screen and save it as a file in your Pictures folder under the Screenshots subfolder.
Use the Snipping Tool
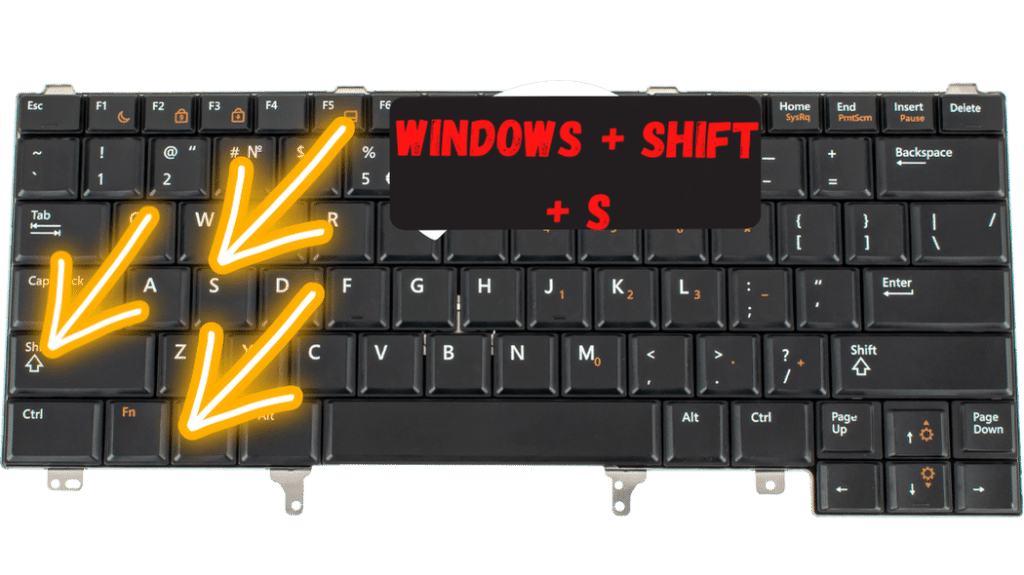
The Snipping Tool is a built-in tool in Windows that allows you to take screenshots of specific areas of your screen. To access the Snipping Tool, type.”Snipping Tool” into the Windows search bar and select it from the results, or you can also use the key windows + shift + S. Once the Snipping Tool is open, you can select the type of screenshot you want to take (rectangular, free-form, window, or full-screen). Simply select the area you want to capture and press the “Save Snip” button to save the screenshot.
Use the Snipping Tool with Time Delay
If you need to take a screenshot of something that requires some preparation, the Snipping Tool also allows you to set a time delay. This means you can set a delay of up to 5 seconds, giving you time to open the menu or window you want to capture before the screenshot is taken. To set a time delay, click on the “Delay” option and select the time you want to wait before the screenshot is taken.
Use Keyboard Shortcuts with the Snipping Tool
If you’re using the Snipping Tool, you can use keyboard shortcuts to take screenshots. For example, you can press the Ctrl + PrtSc keys to take a screenshot of your entire screen or the Windows + Shift + S keys to capture a rectangular screenshot.
Use Third-Party Tools
Many third-party tools offer additional features and customization options if you need more advanced screenshot options. Lightshot, Nimbus Screenshots, and Greenshot are some of the popular choices. These tools allow you to take screenshots of specific areas of your screen, add annotations and highlights, and even upload your screenshots to the cloud for easy sharing.
Ranks of screenshot experts today
Taking screenshots on Windows is easy, whether using built-in tools or third-party tools. With the options outlined in this article, you’ll be able to capture and share your screen moments in no time. So go ahead and snap it up!