Every keyboard, be it on your PC or laptop, faces the inevitable need for key removal – whether for a thorough cleaning or swift replacement. From accidental spills to sudden key malfunctions, knowing the proper technique to remove keys is essential to avoid any damage. Armed with a keycap puller or everyday items like a flathead screwdriver or paperclip, we’ll guide you through the art of safely and effectively removing keyboard keys.
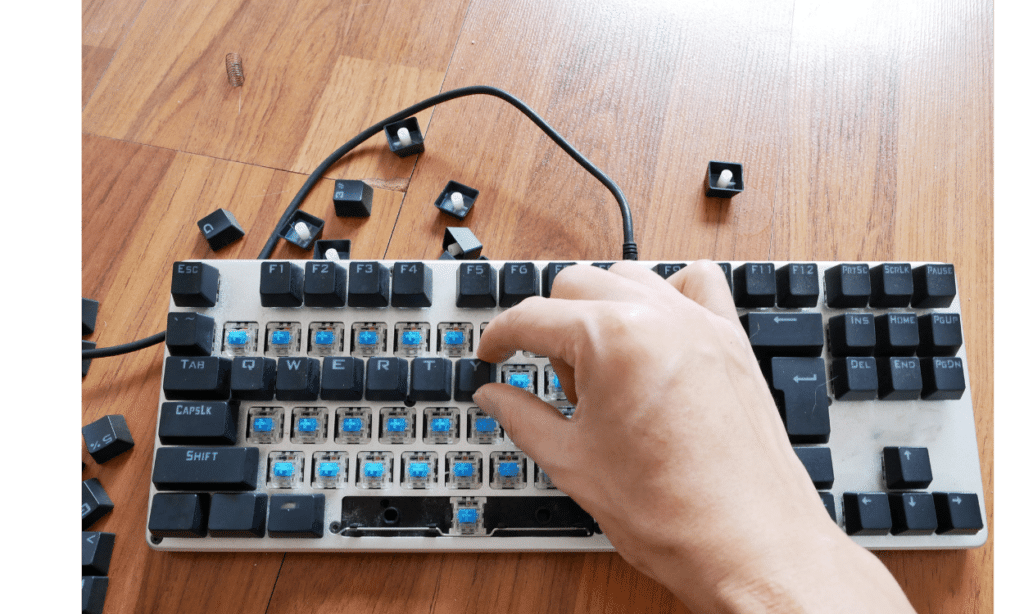
Embark on a journey into the tactile wonderland of mechanical keyboards, cherished by gamers, programmers, and typing enthusiasts alike! 🚀✨ In this blog, we unveil the secrets to keeping your beloved keys pristine – from DIY cleaning tips to the art of effortless key removal. Elevate your typing experience and ensure your mechanical marvel stays at its clicky best. Let’s dive in!
Why Do You Need to Take Keys Off a Mechanical Keyboard?
There are several reasons why you may want to take keys off a mechanical keyboard, such as:
- Clean the keyboard and the keys from dust, dirt, crumbs, or spills that may affect the performance and the lifespan of the keyboard.
- To replace the keys with new ones that have a different color, shape, or feel, or that have custom labels or symbols.
- To repair or replace a broken or faulty key or switch that does not register or respond properly.
- To customize the layout or the function of the keys to suit your personal preference or needs.
Taking keys off a mechanical keyboard is not a difficult task, but it requires some care and caution to avoid damaging the keyboard or the switches. You will also need some tools and materials to do the job properly.
Here is How to Change your Gaming Laptop Keyboard Color
What Tools and Materials Do You Need to Take Keys Off a Mechanical Keyboard?
Before you start taking keys off a mechanical keyboard, you will need the following tools and materials:
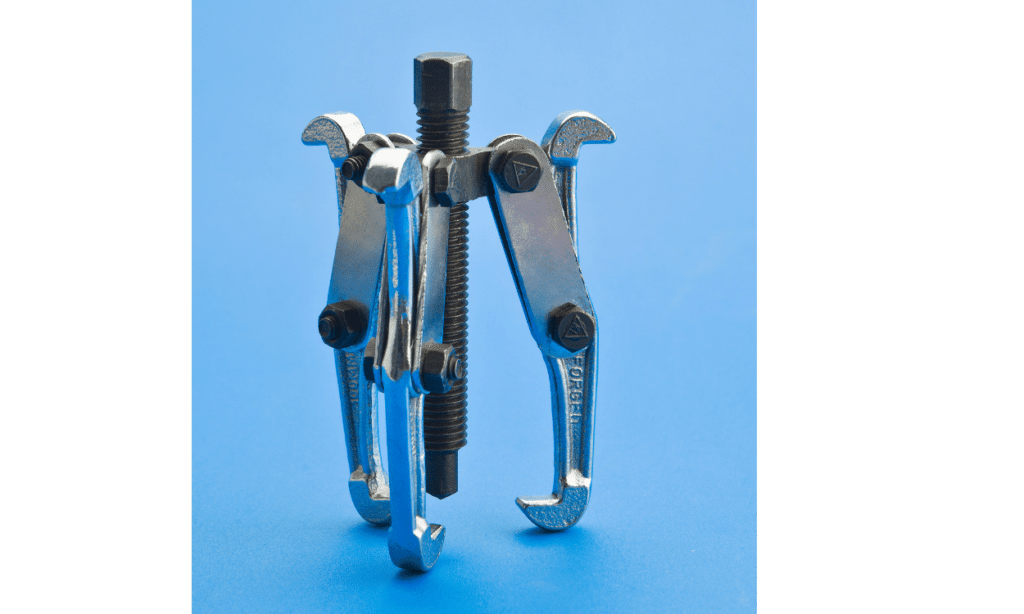
A Keycap Puller
This is a special tool that is designed to grip and pull the keys off the switches without scratching or bending them. You can buy a keycap puller online or from a computer store, or you can make one yourself from a paper clip or a pair of tweezers. However, be careful not to use too much force or to pull the keys at an angle, as this may damage the switches or the keycaps.
A Soft Cloth or a Microfiber Cloth
This is used to wipe the keyboard and the keys from dust and dirt. You can also use a cotton swab or a soft brush to reach the corners and the gaps between the keys.

A Mild Cleaner or Rubbing Alcohol
This is used to clean the keyboard and the keys from sticky or oily residues or stains. You can use mild dish soap, a window cleaner, or rubbing alcohol, but make sure to dilute them with water and avoid any harsh or abrasive chemicals that may damage the keyboard or the keycaps. You will also need a spray bottle or a small container to hold the cleaner, and a paper towel or a dry cloth to dry the keyboard and the keys after cleaning.

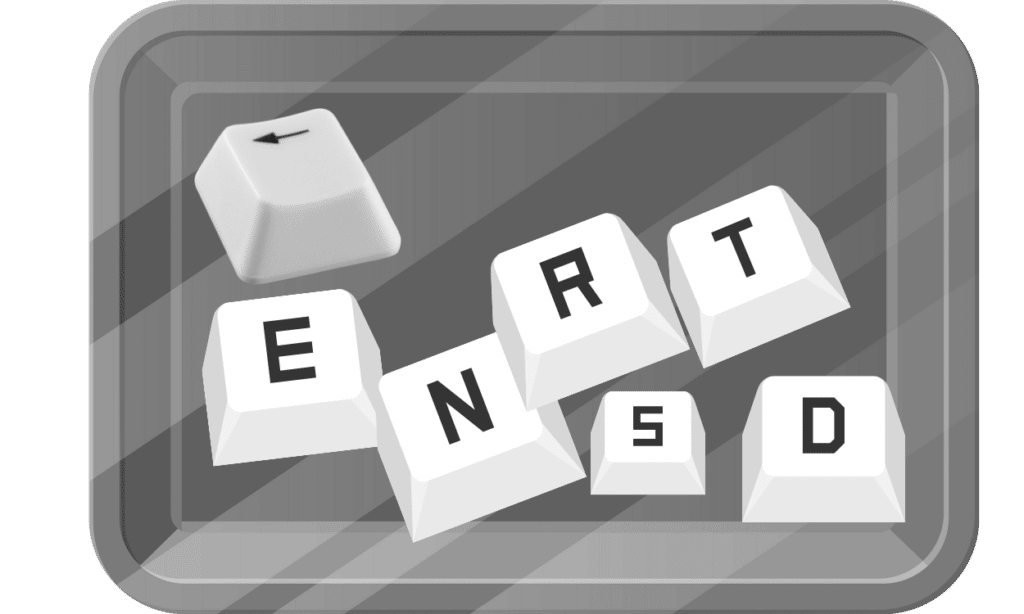
A Small Container or a Tray
This is used to store the keys after you take them off the keyboard and to prevent them from getting lost or mixed up. You can use a plastic container, a tray, or a ziplock bag, and you can label them or arrange them according to the keyboard layout or the key size.
How to Take Keys Off a Mechanical Keyboard at Home – Step-by-Step Guide
Now that you have the tools and materials ready, you can follow these steps to take keys off a mechanical keyboard at home:
Unplug the Keyboard from the Computer or the Power Source
This is to prevent any electric shock or damage to the keyboard or the computer while you are working on it. You can also remove the batteries if the keyboard is wireless.
Place the Keyboard on a Flat and Stable Surface
This is to avoid any movement or vibration that may cause the keys to fall off or the switches to break. You can also cover the surface with a cloth or a towel to protect it from scratches or spills.
Use the Keycap Puller to Remove the Keys One by One
Start from the top row and work your way down or from the outer edges and work your way in, depending on your preference. Insert the keycap puller under the keycap and gently squeeze and pull it upwards until the keycap pops off the switch. Do not twist or tilt the keycap puller, as this may damage the switch or the keycap. Place the keycap in the container or the tray and repeat the process for the rest of the keys. You can also take a picture of the keyboard layout before you start, or use a reference image online, to help you remember the position and the order of the keys.
Clean the Keyboard and The Keys with the Cloth and the Cleaner
After you have removed all the keys, you can use the cloth and the cleaner to wipe the keyboard and the keys from dust, dirt, crumbs, or spills. Spray or dip the cloth in the cleaner and gently rub the keyboard and the keys, paying attention to the corners and the gaps. Do not soak the cloth or the keyboard in the cleaner, as this may cause water damage or corrosion. Use a cotton swab or a soft brush to reach the areas that the cloth cannot reach. Use a paper towel or a dry cloth to dry the keyboard and the keys thoroughly before putting them back.
Put the Keys Back on the Keyboard
After you have cleaned and dried the keyboard and the keys, you can put the keys back on the keyboard. Align the keycap with the switch and press it down firmly until it snaps into place. You should hear a click sound when the keycap is properly attached. Do not force or hammer the keycap, as this may damage the switch or the keycap. Use the picture or the reference image you took before to help you put the keys in the right position and order. You can also test the keys by typing or pressing them to make sure they work properly.
Plug the Keyboard Back into the Computer or the Power Source
After you have put all the keys back on the keyboard, you can plug the keyboard back into the computer or the power source. You can also insert the batteries if the keyboard is wireless. You can now enjoy your clean and fresh mechanical keyboard.
Here Best Wireless Gaming Keyboards 2023 – How Does Logitech Compare to Its Rivals?
How to Take Keys Off a Mechanical Keyboard at Home: Summary and Tips
Taking keys off a mechanical keyboard at home is a simple and useful way to maintain and customize your keyboard. You can do it with a few tools and materials, such as a keycap puller, a cloth, and a cleaner. You can also follow the step-by-step guide we have provided in this article to remove, clean, and put back the keys on your keyboard. However, be careful not to damage the keyboard or the switches while doing so, and avoid any liquid or moisture that may harm the keyboard. By taking the keys off a mechanical keyboard at home, you can enjoy a clean and fresh keyboard that suits your style and needs.
FAQs – How to Take Keys Off a Mechanical Keyboard at Home
You can use a keycap puller to remove a mechanical key from a keyboard. A keycap puller is a tool that grips and pulls the keycap off the switch without damaging it. You can buy a keycap puller online or from a computer store, or you can make one yourself from a paper clip or a pair of tweezers. However, be careful not to use too much force or to pull the key at an angle, as this may damage the switch or the keycap.
All mechanical keyboard keys are removable, and connected to switches by plastic stems that can be easily popped off and snapped back on. However, the process may vary depending on factors like keycap size and type. Larger keys, such as spacebar or enter, may have stabilizers or metal bars, requiring extra steps for removal. In such cases, consider using a wire keycap puller for a smoother process.
Removing keys from nonmechanical keyboards like membrane or scissor-switch ones is possible but trickier than mechanical keyboards. Caution is crucial due to delicate components like rubber domes or scissor mechanisms. Use a flat keycap puller, but be mindful of potential damage that may void your keyboard’s warranty. Handle with care for a successful key removal process.
Safely remove laptop keys by turning off and unplugging your device, using a suitable keycap puller, and handling keys with care. Clean with a mild cleaner and a soft cloth, avoiding liquids that could harm your laptop. Reassemble the keys, test functionality, and enjoy a refreshed keyboard. Quick, easy, and effective maintenance for your laptop! 💻🔧 #LaptopKeyboardCare

