If you want to boost your PC’s gaming performance, one of the best ways is to install a separate GPU (graphics processing unit) in your system. A GPU is a specialized chip that handles the graphics rendering and display of your PC, and it can make a huge difference in how smooth and realistic your games look and run. However, installing a separate GPU is not as simple as plugging it into your PC and turning it on.

There are some steps you need to follow to make sure your new GPU works properly and safely with your PC. In this article, we will guide you through the process of how to install a separate GPU on your PC, from choosing the right card to setting up the drivers.
What You Need to Install a Separate GPU
Before you start installing a separate GPU, you need to make sure you have the following things:
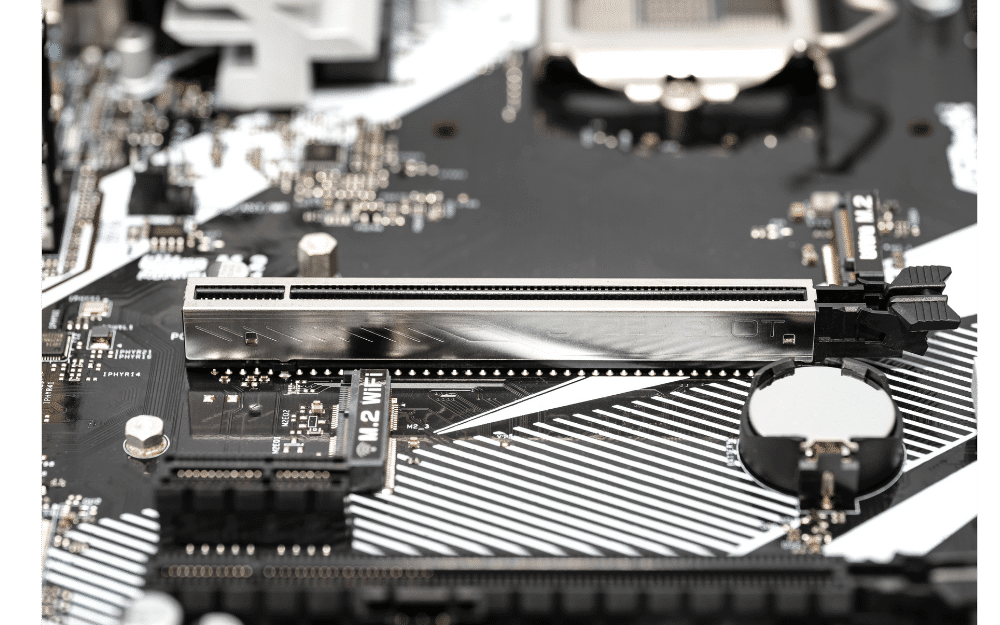
- A compatible motherboard with a free PCI-Express (PCI-E) x16 slot. This is where you will plug in your new GPU. Most modern motherboards have at least one PCI-E x16 slot, but some may have more than one. You can check your motherboard’s manual or website to see what kind of slots it has and where they are located.
- A compatible power supply unit (PSU) with enough wattage and connectors. Your new GPU will draw more power from your PSU than your integrated graphics or your old GPU, so you need to make sure your PSU can handle it. You also need to make sure your PSU has the right connectors for your new GPU, such as 6-pin or 8-pin PCI-E power connectors. You can check your PSU’s label or website to see its wattage and connectors, and you can check your new GPU’s specifications or box to see what it requires.
- A compatible case with enough space and airflow. Your new GPU will be larger and hotter than your integrated graphics or your old GPU, so you need to make sure it fits in your case and has enough room for cooling. You also need to make sure your case has enough screws and brackets to secure your new GPU in place. You can check your case’s manual or website to see its dimensions and features, and you can check your new GPU’s specifications or box to see its size and cooling requirements.
- A screwdriver and an anti-static wrist strap. You will need a screwdriver to open your case and install your new GPU, and you will need an anti-static wrist strap to prevent damaging your components with static electricity. You can buy these tools from any hardware or electronics store, or you can use ones that you already have.
- A monitor and a cable that matches your new GPU’s output ports. Your new GPU will have different output ports than your integrated graphics or your old GPU, such as HDMI, DisplayPort, DVI, or VGA. You need to make sure your monitor and cable support the same port type as your new GPU, or you need to buy an adapter that converts one port type to another. You can check your monitor’s manual or website to see its input ports, and you can check your new GPU’s specifications or box to see its output ports.
How to Install a Separate GPU in Your PC
Once you have all the things you need, you can start installing a separate GPU on your PC by following these steps:
Uninstall the old drivers.
If you are replacing an old dedicated GPU with a new one, you need to uninstall the drivers for the old one first. This will prevent any conflicts or errors with the new one. You can use the uninstaller program that came with the old drivers, or you can use a third-party tool like Display Driver Uninstaller (DDU) that can remove all traces of the old drivers from your system. You can also uninstall the drivers for your integrated graphics if you are not planning to use them anymore.
Power down and unplug your PC.
After uninstalling the old drivers, you need to shut down your PC and unplug it from the power outlet. This will ensure that there is no electricity running through your components while you are working on them.
Open up your case and locate the PCI-E x16 slot.
Next, you need to open up your case by removing the side panel that covers the motherboard and other components. You may need to unscrew some screws or slide some latches to do this, depending on your case model. Then, you need to locate the PCI-E x16 slot on your motherboard where you will install your new GPU. It is usually the longest slot near the CPU socket, but it may vary depending on your motherboard layout.
Remove any existing card from the PCI-E x16 slot.
If there is already a card installed in the PCI-E x16 slot, such as an old dedicated GPU or a sound card, you need to remove it first before installing your new GPU. To do this, you need to unscrew the screw that secures the card to the case bracket, and then gently pull the card out of the slot. You may need to unlock a latch or a clip on the slot before pulling the card out, depending on your motherboard model. Be careful not to damage the card or the slot while doing this, and store the card in a safe place if you want to use it again later.
Install your new GPU in the PCI-E x16 slot.
Now, you are ready to install your new GPU in the PCI-E x16 slot. To do this, you need to align the gold contacts on the bottom of the card with the slot, and then gently push the card into the slot until it clicks into place. You may need to apply some pressure but do not force it or bend it. You also need to make sure that the rear bracket of the card lines up with the case bracket, and that the output ports of the card are accessible from the back of the case.
Secure your new GPU with screws and connectors.
After installing your new GPU in the PCI-E x16 slot, you need to secure it with screws and connectors. You need to screw the screw that came with your case or your new GPU into the hole on the rear bracket of the card, and then tighten it until it is snug. This will prevent your card from wobbling or falling out of the slot. You also need to connect any required power connectors from your PSU to your new GPU, such as 6-pin or 8-pin PCI-E power connectors. You need to make sure that they are plugged in firmly and correctly, and that they do not interfere with any other components or cables.
Close up your case and plug in your monitor.
After securing your new GPU with screws and connectors, you can close up your case by putting back the side panel that covers the motherboard and other components. You may need to screw some screws or slide some latches to do this, depending on your case model. Then, you can plug in your monitor to one of the output ports of your new GPU, such as HDMI, DisplayPort, DVI, or VGA. You may need to use an adapter if your monitor and cable do not match your new GPU’s port type.
Power up and install the new drivers.
Finally, you can power up your PC and install the new drivers for your new GPU. You can use the driver CD or DVD that came with your new GPU, or you can download the latest drivers from the manufacturer’s website. You need to follow the instructions on how to install the drivers, and then restart your PC when prompted. This will ensure that your new GPU works properly and optimally with your system.
Here are some of The Best GPUs for a Gaming Laptop in 2023
Congratulations! You Have Installed a Separate GPU on Your PC
You have successfully installed a separate GPU in your PC by following these steps. You can now enjoy a better gaming experience with higher graphics quality and performance. However, installing a separate GPU is not the only thing you can do to improve your gaming PC. You can also upgrade other components such as CPU, RAM, storage, cooling, etc., depending on your needs and budget. You can also tweak some settings such as resolution, refresh rate, frame rate, etc., depending on your preferences and monitor capabilities. You can also try some tools such as overclocking software, game optimization, etc. Depending on your skills and goals.
We hope this article has helped you learn how to install a separate GPU on your PC. If you have any questions or feedback, please feel free to leave a comment below. Happy gaming!